Multi-Masking for Hair: A Simple Routine for Scalp and Ends
Written by

Published on Jan 24, 2026

In this article
If you've tried multi-masking on your face, you already know how well it works—and how much fun it can be. You don't need to stop there, though. Actually, you shouldn't, because multi-masking works wonders for your hair too.
We label our strands as dry, frizzy, or oily, but like your face, different parts of your hair can have different needs. To understand how hair multi-masking works and why you'll want to try it right away, I reached out to an expert.
Key Takeaways
-
Multi-masking addresses scalp, roots, mid-lengths, and ends using separate masks.
-
Check porosity and zone needs to pick two to four targeted products.
-
Put masks on after shampooing while hair is clean and damp, comb each one in, then cover.
-
Seal results with a few drops of batana and rosemary oil on damp strands.
What Is Multi-Masking for Hair
Multi-masking your hair works like giving it a detailed, custom facial. Our hair has different needs along its length; your ends are much older than the roots growing fresh from your scalp, so treating each area separately makes sense.
When you get a multi-masking treatment at a salon, your stylist will ask about your lifestyle, health, diet, and general wellness. Then they'll examine your hair's condition closely, spot any trouble areas, and figure out what your strands need most.
Next, they'll apply different hair masks to each zone to bring your hair back to its best shape. They can also suggest which masks to buy and use at home.
A stylist once told me I have combination hair—just like my skin. That means I get greasy roots near my sebaceous glands and tangled, dry ends. They picked three masks for me (my hair's short, and the salon stocked five formulas total): a purifying one for my oily scalp, another to add shine and brightness to my dull mid-lengths, and a third to moisturize and soften the ends.
After spreading the three masks across different parts of my hair, they covered it so my head could generate heat and help the ingredients activate and soak in. We left the masks on for about twenty minutes.
What Will Multi-Masking Do for Your Hair?

Multi-masking could be the answer if you're struggling with multiple hair concerns. Instead of applying one mask to your entire head, you'll use different formulas on different areas to target specific needs. Here are some common scenarios where multi-masking can help.
1. Oily Roots and Dry Ends
This is a very common combination. Your scalp tends to produce oil quickly, while your ends might feel rough or dry. Applying the same mask all over can often backfire. A heavy mask might soften your ends, but it could also make your roots look greasy soon after.
With multi-masking, you're able to treat each area in a specific way. You can apply a lighter, balancing mask to your scalp, and a more nourishing mask from mid-lengths down to the ends. The result? Roots that look clean and ends that feel softer, without losing volume.
2. Dry Hair That Also Lacks Volume
Sometimes, hair can feel dry and dull, yet still look limp. While heavy moisture can improve softness, it often weighs your hair down, which makes styling more difficult.
Multi-masking lets you hydrate where it's most needed, typically the ends, while using a lighter mask near the roots to support volume. This way, your hair can feel moisturized without losing lift, so it looks healthier and fuller.
3. Damaged Ends With a Sensitive Scalp
If you frequently color, bleach, or heat-style your hair, the ends might feel weak, while your scalp is sensitive. A strong repair mask can help fix damaged strands, but it may be too intense for your scalp. I've found that a scalp massage while applying a gentle mask can be really soothing.
With multi-masking, you can apply a strengthening mask only where you see damage, and use a gentler formula on your scalp. This approach improves the look of damage without causing discomfort.
4. Frizz at the Ends and Oil Buildup at the Scalp
Frizz and oil can happen at the same time, especially if you use styling products or live in humid weather. If you apply a smoothing mask everywhere, it might worsen oiliness at the scalp, but skipping moisture can make frizz harder to manage.
Multi-masking lets you hydrate frizzy sections without overloading your scalp with product. Your scalp stays fresh, while the ends look polished, which makes styling more predictable.
5. Uneven Hair Texture From Root to Tip
Hair texture can vary from root to tip because of growth patterns, past damage, or different levels of heat and sun exposure. One section might feel soft, while another feels stiff. A friend mentioned her hair felt much softer after she started paying more attention to the ends.
Multi-masking helps even things out by giving each section exactly what it requires. Over time, this can make your hair feel more consistent, easier to detangle, and simpler to style, because no area is being over- or undertreated.
How to Multi-Mask Your Hair, Step by Step

Now that you know which masks to buy, how long it takes, how it might change your hair, and more, you're probably wondering how you actually do this. Need a step-by-step guide?
1. Choose Your Masks Based on Hair Zones
First, how many masks should you use when multi-masking? At least two. That might be all you need, especially if your hair is shorter. Most people find they need one mask for the top and another for the mid-lengths to the ends. For instance, one mask that tackles the feel of overly oily strands at the top, another that fights the look of dry, split ends at the bottom.
2. Know When to Apply Each Mask
Next, when should you apply your hair mask? We already know how often to use them, but at what point in our hair care routines should we smooth them on? The answer is straightforward.
Always do this after shampooing! Ensuring your hair has been thoroughly cleaned is the best way to get the most from the ingredients in your chosen masks. It breaks down any product buildup and removes dirt that naturally gets into our hair every day.
3. How to Apply the Masks
How you apply your hair masks depends on how precise you want to be. If you have short hair and you're using two or more very different masks for separate areas, you'll probably need to make your application very exact. This keeps each mask from touching the wrong part of your hair.
In this case, we suggest grabbing a mask applicator brush. It lets you separate sections of your hair and apply the mask exactly where you want it. On the other hand, if you have very long hair and are using just two masks, you might be okay applying with your hands.
That said, we always prefer a brush for how precise it is and how it makes us feel like a professional hairdresser in our own bathroom!
4. Comb It Through Evenly
It might seem like you covered every strand, but unless you use a comb to spread the product evenly, you probably didn't! Grab a wide-tooth comb with rounded edges and gently comb out your hair, working from root to tip. This prevents pulling at the roots, which can stress your strands and cause breakage.
5. Set a Timer
Removing your masks before they've had time to do their job is just as bad as leaving them on way too long and making your hair overly saturated. Always check the back of your mask for directions on how long to leave it on. Then follow it.
6. Rinse Carefully, Then Style
As tempting as it is to rinse your hair with soothing warm or even hot water, we recommend using only lukewarm temperatures. Unfortunately, hot water strips our hair of natural oils. It also likes to wash all the products away as it runs through our hair.
To get the most from your treatment and keep your hair feeling silky smooth, cooler water is the answer. It'll wash away all the product that needs to come out but won't stop your hair from soaking up the benefits.
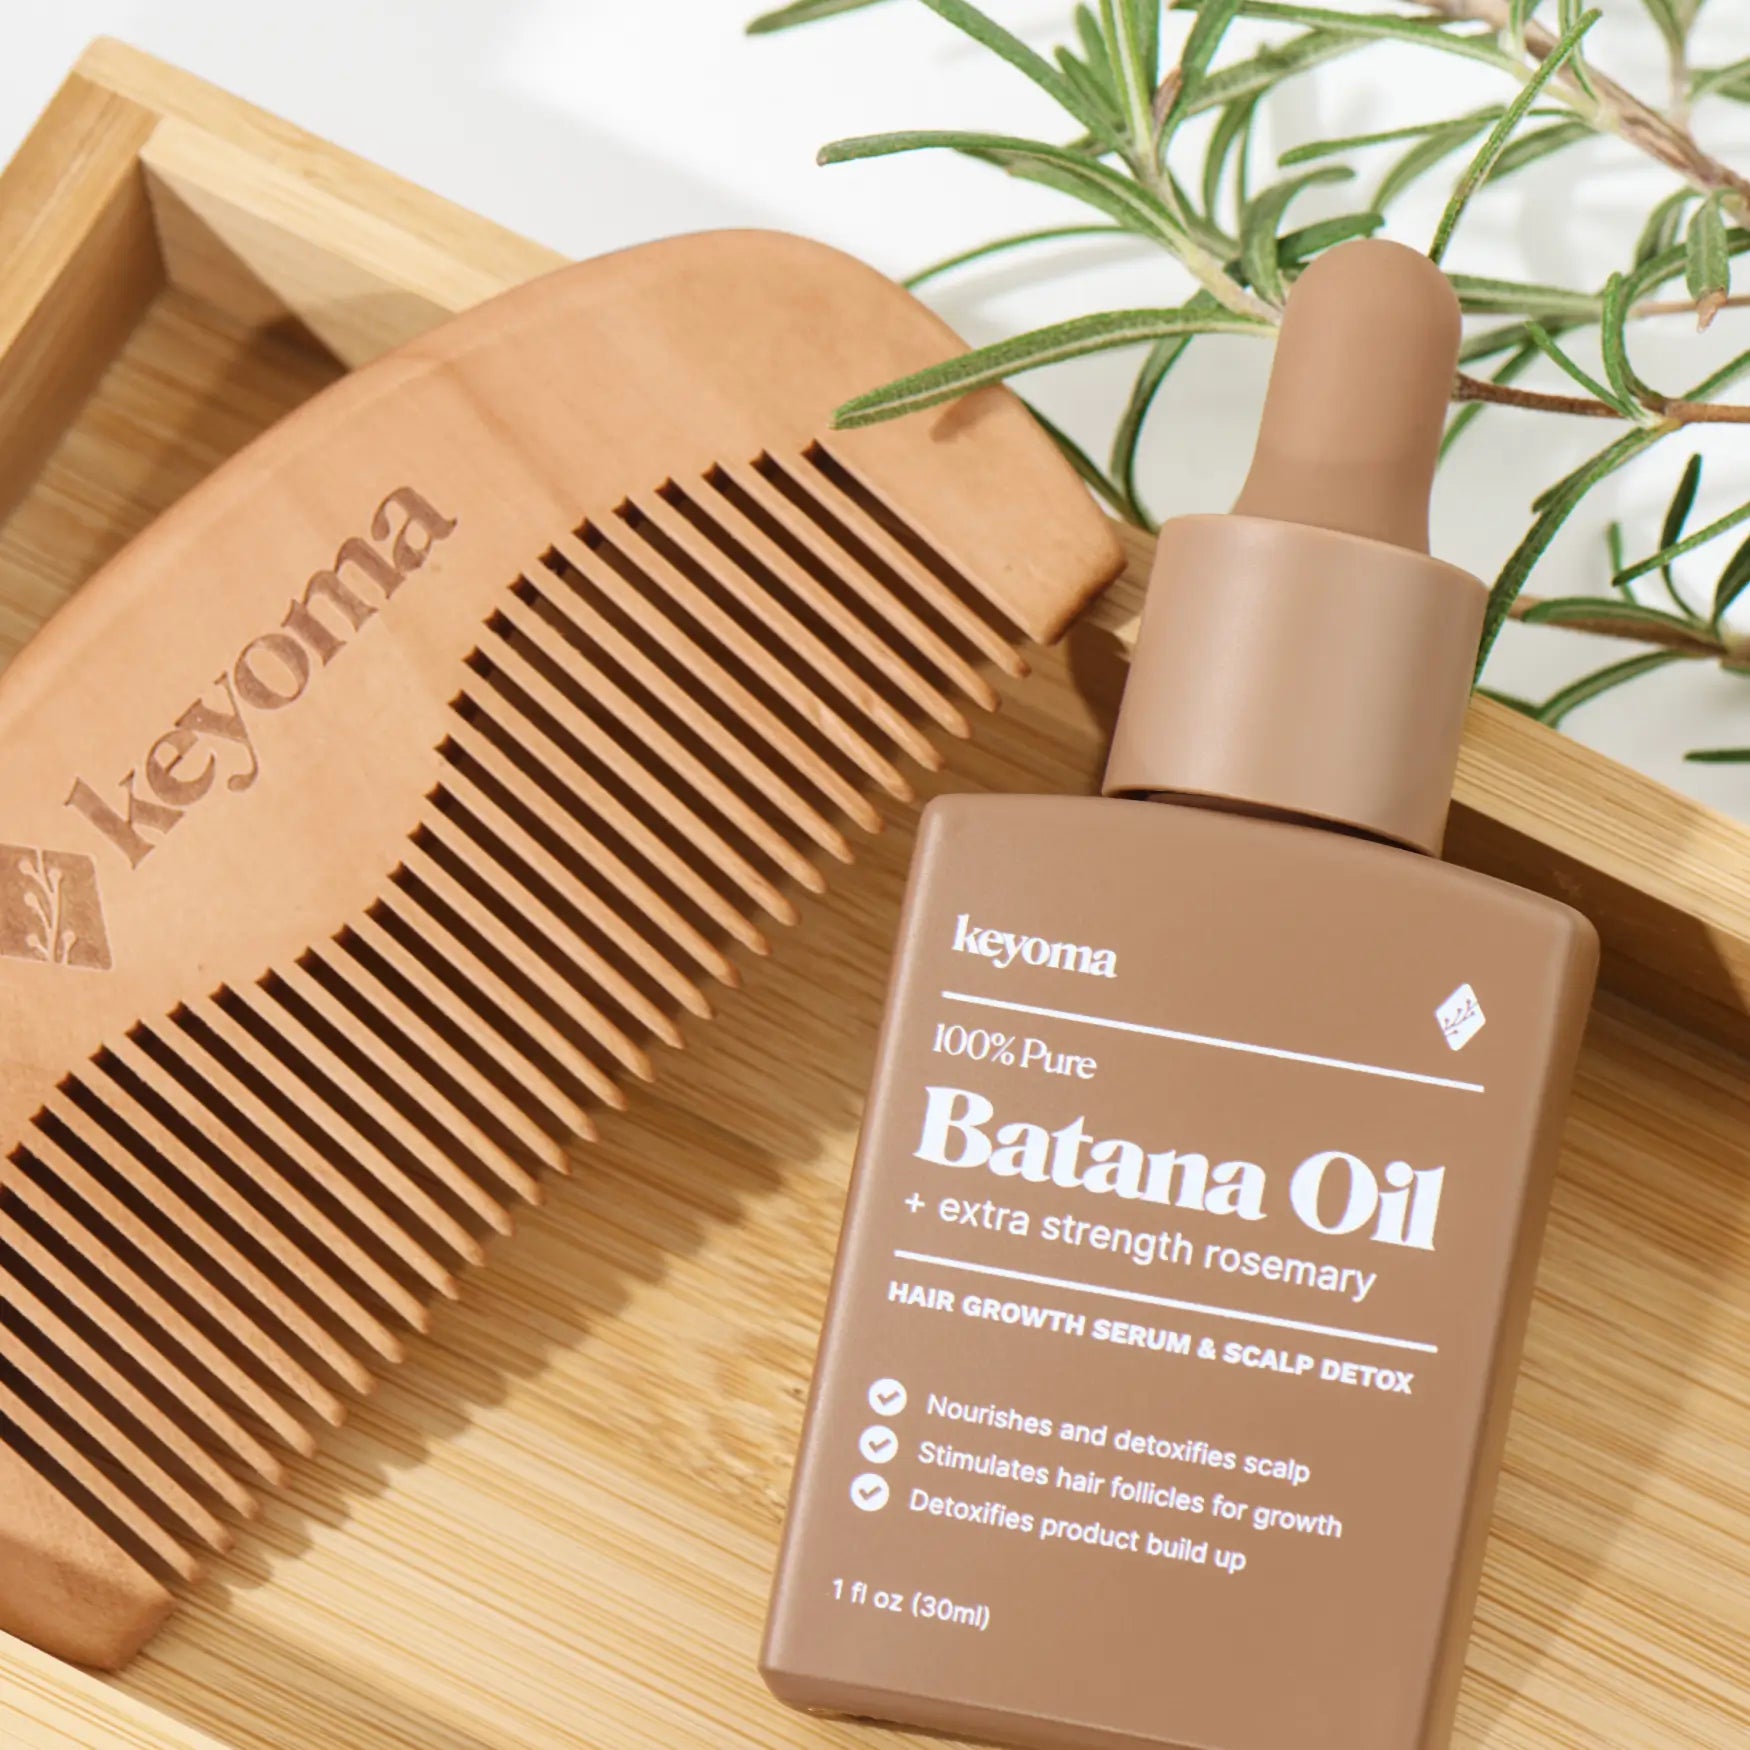
7. Finish With Batana Oil With Rosemary
Once you've rinsed your masks out, batana oil with rosemary can be a straightforward finishing step that supports moisture and scalp comfort without making hair heavy. This works best on damp hair, when your strands are still slightly open and more ready to take in oils.
Start by gently squeezing out extra water with your hands or a towel.
Warm a few drops of batana oil between your palms. If your scalp tends to feel dry or tight, lightly press a small amount into the scalp using slow, gentle circular motions.
I noticed cooler rinse water helped my scalp feel calmer afterward. Keep the pressure light and use your fingertips, not your nails.
Seal Your Hair Multi-Mask With Keyoma Batana Oil
Treat your hair like it has zones, not one issue. Your scalp can be oily while your ends feel dry, and one mask can't handle both without compromise. If you keep dealing with greasy roots and thirsty ends, then choose at least two masks and apply them by zone, not by routine.
Work on clean, damp hair so the formulas can actually stick, then give them enough time to soak in, since quick rinses often leave you thinking "masks don't work." Rinse with lukewarm water and keep rinsing until your hair feels clean, not slippery.
Seal the results with a few drops on damp lengths so softness lasts without weight. Finish with Keyoma’s Pure Batana Oil with Rosemary.
Featured Product
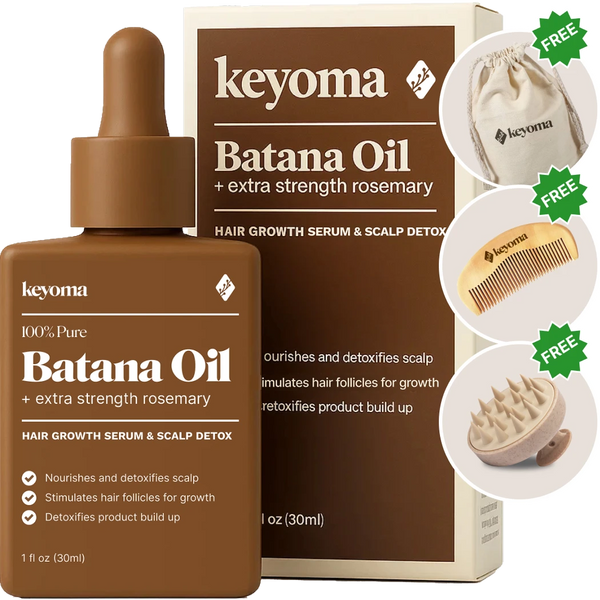
30% Off + 3 FREE Gifts
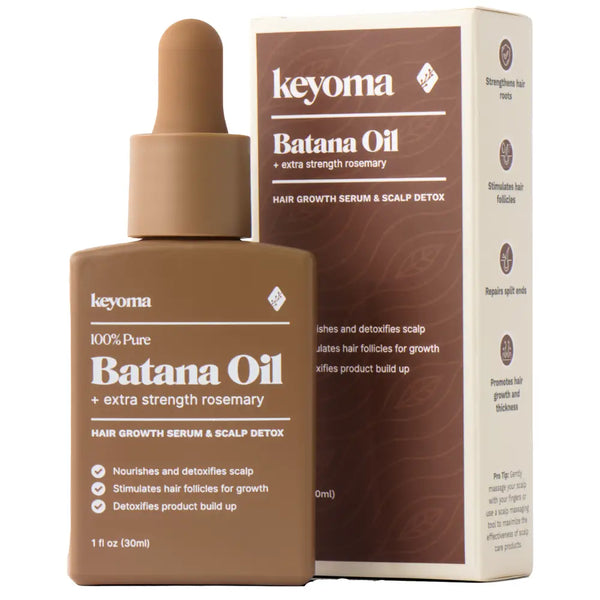
100% Pure Batana Oil + Rosemary
↓Best Batana Oil to Buy↓

1 Month
Subscribe & Save


- 30-day supply delivered monthly $35
- 30% off for life $6
- Free haircare essentials kit $33
- Free custom wooden comb $10
- Free scalp massager $15
- Free eco-friendly travel bag $8
- 30-Day Money Back Guarantee
- Free Shipping
- Online portal for easy cancel, skip, or pause.
1 Month One Time Purchase
- 30-day supply $50
- 30% off for life $6
- Free haircare essentials kit $33
- Free custom wooden comb $10
- Free scalp massager $15
- Free eco-friendly travel bag $8
