

In this article
You can use hair oil under hats and helmets, but your usual application may become too heavy once you cover your hair. Heat, sweat, pressure, and repeated contact can spread the oil toward your roots, skin, and headwear.
The solution is not necessarily to stop oiling. Start with less product, keep most of it on the lengths and ends, and change the timing when you expect prolonged wear or heavy sweating.
Your scalp and ends may also need different things. Dry ends can benefit from targeted oil while the roots remain completely product-free. Treating these areas separately helps you avoid choosing between brittle-feeling lengths and greasy roots.
Key Takeaways
-
Covered hair usually needs less oil than hair left uncovered.
-
Keep oil on dry or friction-prone lengths if your scalp becomes sweaty or oily.
-
A transfer check can reveal excess oil before it reaches your hat or helmet liner.
-
Oil may provide slip, but it cannot correct poor helmet fit, pressure, or a tight hairstyle.
Why Hair Oil Behaves Differently Under Hats and Helmets
A hat or helmet creates a covered environment with less airflow around your scalp and hair. This is sometimes described as occlusion.
Covering your hair does not automatically make an oil harmful. However, it changes the conditions around the application. Sweat, natural scalp oil, leave-in products, and added hair oil remain in closer contact with the hairline, scalp, and material touching your head.
Sweat does not activate hair oil or make it penetrate more deeply. It can, however, help move surface residue. Pressure and movement can then spread that mixture to nearby roots, your forehead, or the inside of your headwear.
The effect depends on several variables:
-
How much oil you use
-
Whether you apply it to the scalp or lengths
-
How long you wear the head covering
-
How heavily you sweat
-
How closely the hat or helmet fits
-
Whether other styling products are already on your hair
-
How frequently the contact surfaces are cleaned
A loose, breathable cap worn for a short errand creates different conditions from a fitted motorcycle helmet worn during a long commute. A thick beanie can also retain more heat than a lightweight hat, even when it places less pressure on the hair.
Decide Whether to Oil Before Putting on Headwear
The right timing depends on what you want the oil to accomplish and what will happen after you cover your hair.
Oil Before Coverage When Your Lengths Need Targeted Slip
A small pre-wear application can be useful when dry or coarse sections rub against a hat, clothing, or clean helmet lining. It may also help smooth flyaways or reduce tangling through longer hair.
Pre-wear oiling is most practical when:
-
You apply only a trace amount
-
You concentrate it on the mid-lengths and ends
-
Your roots are clean and not already oily
-
You expect little sweating
-
You will wear the hat or helmet for a relatively short period
-
The finished hair feels flexible rather than coated
The goal is not to saturate the hair. Your strands should retain their movement, and the oil should not transfer readily when you touch them.
Change the Timing When Sweat or Transfer Is Predictable
Move your oil application to after wearing the head covering, after washing, or to a separate pre-wash routine if you know your scalp will become hot and sweaty.
Changing the timing is often more effective than repeatedly adding shampoo later. Consider skipping pre-wear oil when:
-
You will wear a helmet or close-fitting hat for several hours
-
Your roots become greasy quickly
-
You sweat heavily around the scalp and hairline
-
The inner band or liner develops oily marks
-
Product transfers onto your forehead, temples, ears, or neck
-
Your hair already contains leave-in conditioner, gel, wax, or dry shampoo
-
Your scalp feels uncomfortable after prolonged wear
There is no universal safe wear-time limit. Climate, hair density, oil weight, headwear construction, and individual sweat levels make a fixed cutoff unreliable.
How to Apply Hair Oil Under Hats and Helmets
A low-transfer application should account for what happens after the hair is covered, not just how it looks when you first apply the oil.
1. Start With Clean, Fully Dry Hair and Headwear
Applying fresh oil over old sweat, dry shampoo, styling wax, or yesterday’s residue makes it difficult to judge how much product your hair actually needs. Begin with hair that feels clean enough for another leave-in layer.
Your hair and scalp should also be dry before putting on a helmet. Covering damp hair can make the enclosed environment feel warmer and less comfortable, and the extra moisture may spread product more readily.
Check the surface touching your hair as well. A clean scalp can pick up old oil and residue from a frequently reused hat band or helmet liner.
2. Treat Your Scalp and Lengths as Separate Zones
If your goal is to soften dry hair or reduce friction, start around the mid-lengths or ends. You do not need to coat your scalp simply because you are using a hair oil.
This distinction matters when you have sweaty roots but dry ends. Applying oil from root to tip treats two different conditions as if they were the same. Instead, leave the scalp product-free and concentrate the oil only where the strands feel rough or catch easily.
A direct scalp application is better reserved for a separate, intentional routine that you already tolerate. It should not be the default step before putting on fitted headwear.
3. Use Less Than Your Normal Amount
Covered hair often needs a smaller dose because the product is more likely to spread or transfer during wear.
Use this adaptable method:
-
Dispense less than you would use when leaving your hair uncovered.
-
Spread the oil thoroughly across your palms and fingers.
-
Touch the driest or highest-friction sections first.
-
Use the small amount remaining on your hands to smooth nearby strands.
-
Wait briefly and reassess before adding more.
Your hair length, density, texture, and the oil’s consistency will affect the amount you need. The correct dose is the smallest amount that improves slip or softness without leaving a wet-looking film.
If your hair quickly becomes separated, sticky, flat, or visibly oily, review the broader signs you may be using too much hair oil before increasing your cleansing frequency.
4. Perform a Transfer Check
Before covering your hair, lightly press a clean tissue or dry fingertip against an oiled section.
A faint sheen may be expected, but an obvious oily mark suggests that the product is still sitting heavily on the surface. Spread it across a larger section, remove the excess, or wait before putting on your headwear.
Check the hat band or removable helmet liner after use, too. Repeated oily marks are practical evidence that your dose, placement, or timing needs to change.
This is simply a routine-control check. It does not measure absorption, porosity, or the condition of the hair.
5. Choose a Low-Tension Hairstyle
A loose braid or low ponytail can keep longer hair controlled without pulling tightly at the scalp. Make sure the style fits comfortably beneath the headwear and does not create a lump or pressure point.
Avoid bulky buns and tight styles beneath protective helmets. Adding oil will not offset the tension created by a hairstyle that pulls at the same areas for hours.
The helmet must still fit according to the manufacturer’s safety instructions. Never loosen it, remove padding, or change its position to accommodate a hairstyle.
6. Put On the Headwear Without Dragging It Across Your Hair
When the design allows, position the hat or helmet carefully instead of scraping it backward across the hairline. Tuck loose ends gently and avoid catching them beneath straps or fasteners.
This step can reduce unnecessary pulling, but safety remains the priority. Do not alter safety components or interfere with the correct operation of protective headwear for cosmetic reasons.
Adjust Your Routine for Hats Versus Helmets
Hats and helmets both cover the hair, but they do not create identical conditions.
Using Hair Oil Under Caps and Beanies
Caps often collect oil around the inner sweatband, especially near the forehead and temples. If you see marks in this area, keeping oil away from the roots and front hairline may be more effective than changing oils.
Close-fitting beanies can retain considerable warmth, so use a smaller amount when you expect to wear one indoors or for several hours. A loose hat may allow more airflow, but it can still move against the same sections repeatedly.
Wash hats according to their care labels and rotate clean options when you wear them frequently. Do not use a tighter hat simply to flatten or conceal oily roots. The added pressure may make your scalp less comfortable without solving the product problem.
Using Hair Oil Under Motorcycle, Bicycle, and Work Helmets
Helmets typically create more sustained pressure and repeated contact than casual hats. Their fitted padding can hold transferred oil, sweat, and styling residue close to the same areas each time you wear them.
Follow the manufacturer’s directions for removing and cleaning washable liners. Do not apply hair oil, fragrance, solvents, or household cleaning products directly to the helmet unless the manufacturer confirms that they are compatible with its materials.
Do not add extra scarves, thick caps, padding, or bulky hairstyles beneath a protective helmet without manufacturer approval. These additions can affect the intended fit.
If a daily commute consistently leaves the liner greasy, move oiling to after the ride or use it as a separate pre-wash treatment. Timing may solve the problem more reliably than trying to find an oil that never transfers.
Control Sweat and Buildup After Removing Headwear
Once you remove the hat or helmet, resist the urge to add more oil immediately.
Let Your Scalp Cool and Dry
Loosen your hairstyle and allow sweat to evaporate when it is safe and practical. Blot moisture around the hairline if needed, but avoid rough rubbing.
If your roots are sweaty while your ends feel dry, wait until the scalp is dry and reassess the lengths separately. Adding oil across the entire head can turn a localized dryness concern into a root-buildup problem.
Clean According to Residue, Not a Fixed Schedule
Not everyone needs to shampoo after every short period of hat or helmet wear. Base your cleansing frequency on what you actually notice:
-
Heavy sweating
-
Greasy or sticky roots
-
Unpleasant odor
-
Visible residue
-
Scalp discomfort
-
Several layered styling products
-
Hair that remains coated after rinsing
When you wash, focus shampoo on the scalp and rinse thoroughly. If the hair remains flat, tacky, or difficult to style even after washing, learn how to identify product buildup before automatically reaching for harsher products.
Clarifying shampoo can be useful for stubborn residue, but it does not need to become a rigid weekly step for every person who wears a helmet.
Clean the Contact Surfaces
Oil does not remain only on the hair. It can collect on hat bands, helmet liners, straps, headbands, and scarves, then transfer back during the next wear.
Inspect these surfaces regularly and clean them according to their care instructions. If a helmet liner is not removable, follow the helmet manufacturer’s approved method rather than soaking or treating it with an improvised cleaner.
Troubleshoot Your Hat or Helmet Routine
|
What You Notice |
What to Check First |
Practical Adjustment |
|
Roots look oily immediately after wear |
Oil may be too close to the scalp |
Leave the roots untreated and reduce the dose |
|
Hat band or helmet liner feels greasy |
Excess product is transferring |
Use less oil and clean the surface as directed |
|
Ends feel dry but roots feel sweaty |
The two zones have different needs |
Oil only the driest lengths after the scalp dries |
|
Hair feels sticky after washing |
Products may be layering faster than they are removed |
Simplify the routine and improve rinsing |
|
Breakage appears in one contact area |
Friction, pressure, or styling tension may be involved |
Reassess the hairstyle and approved fit |
|
Itching, burning, or bumps appear |
Irritation, residue, friction, or another scalp issue may be present |
Stop the suspected product and monitor the area |
This table can help you identify which part of your routine to change first, but it cannot diagnose a scalp condition.
Know When to Pause Hair Oil
Stop applying cosmetic oil to skin that is broken, painful, swollen, actively inflamed, or producing discharge.
Small bumps after wearing headwear are not automatically acne or folliculitis. Product sensitivity, sweat, pressure, friction, and unrelated scalp conditions can look similar without a professional assessment.
According to DermNet’s guidance on scalp folliculitis, the condition can involve small, itchy pustules that may become sore or crusted. Seek medical advice if you develop persistent or painful bumps, pus, spreading redness, significant burning, swelling, fever, scarring, or hair loss around inflamed areas.
Build a Lower-Buildup Hat or Helmet Routine
Match your oil use to the conditions you expect:
-
For short, low-sweat wear: Apply a trace amount to dry lengths and check for transfer before covering your hair.
-
For long or sweaty wear: Keep the scalp product-free and move oiling to after wear or a separate pre-wash routine.
-
For repeated buildup: Reduce the number of product layers, clean the relevant headwear surfaces, and let your hair reset before applying more.
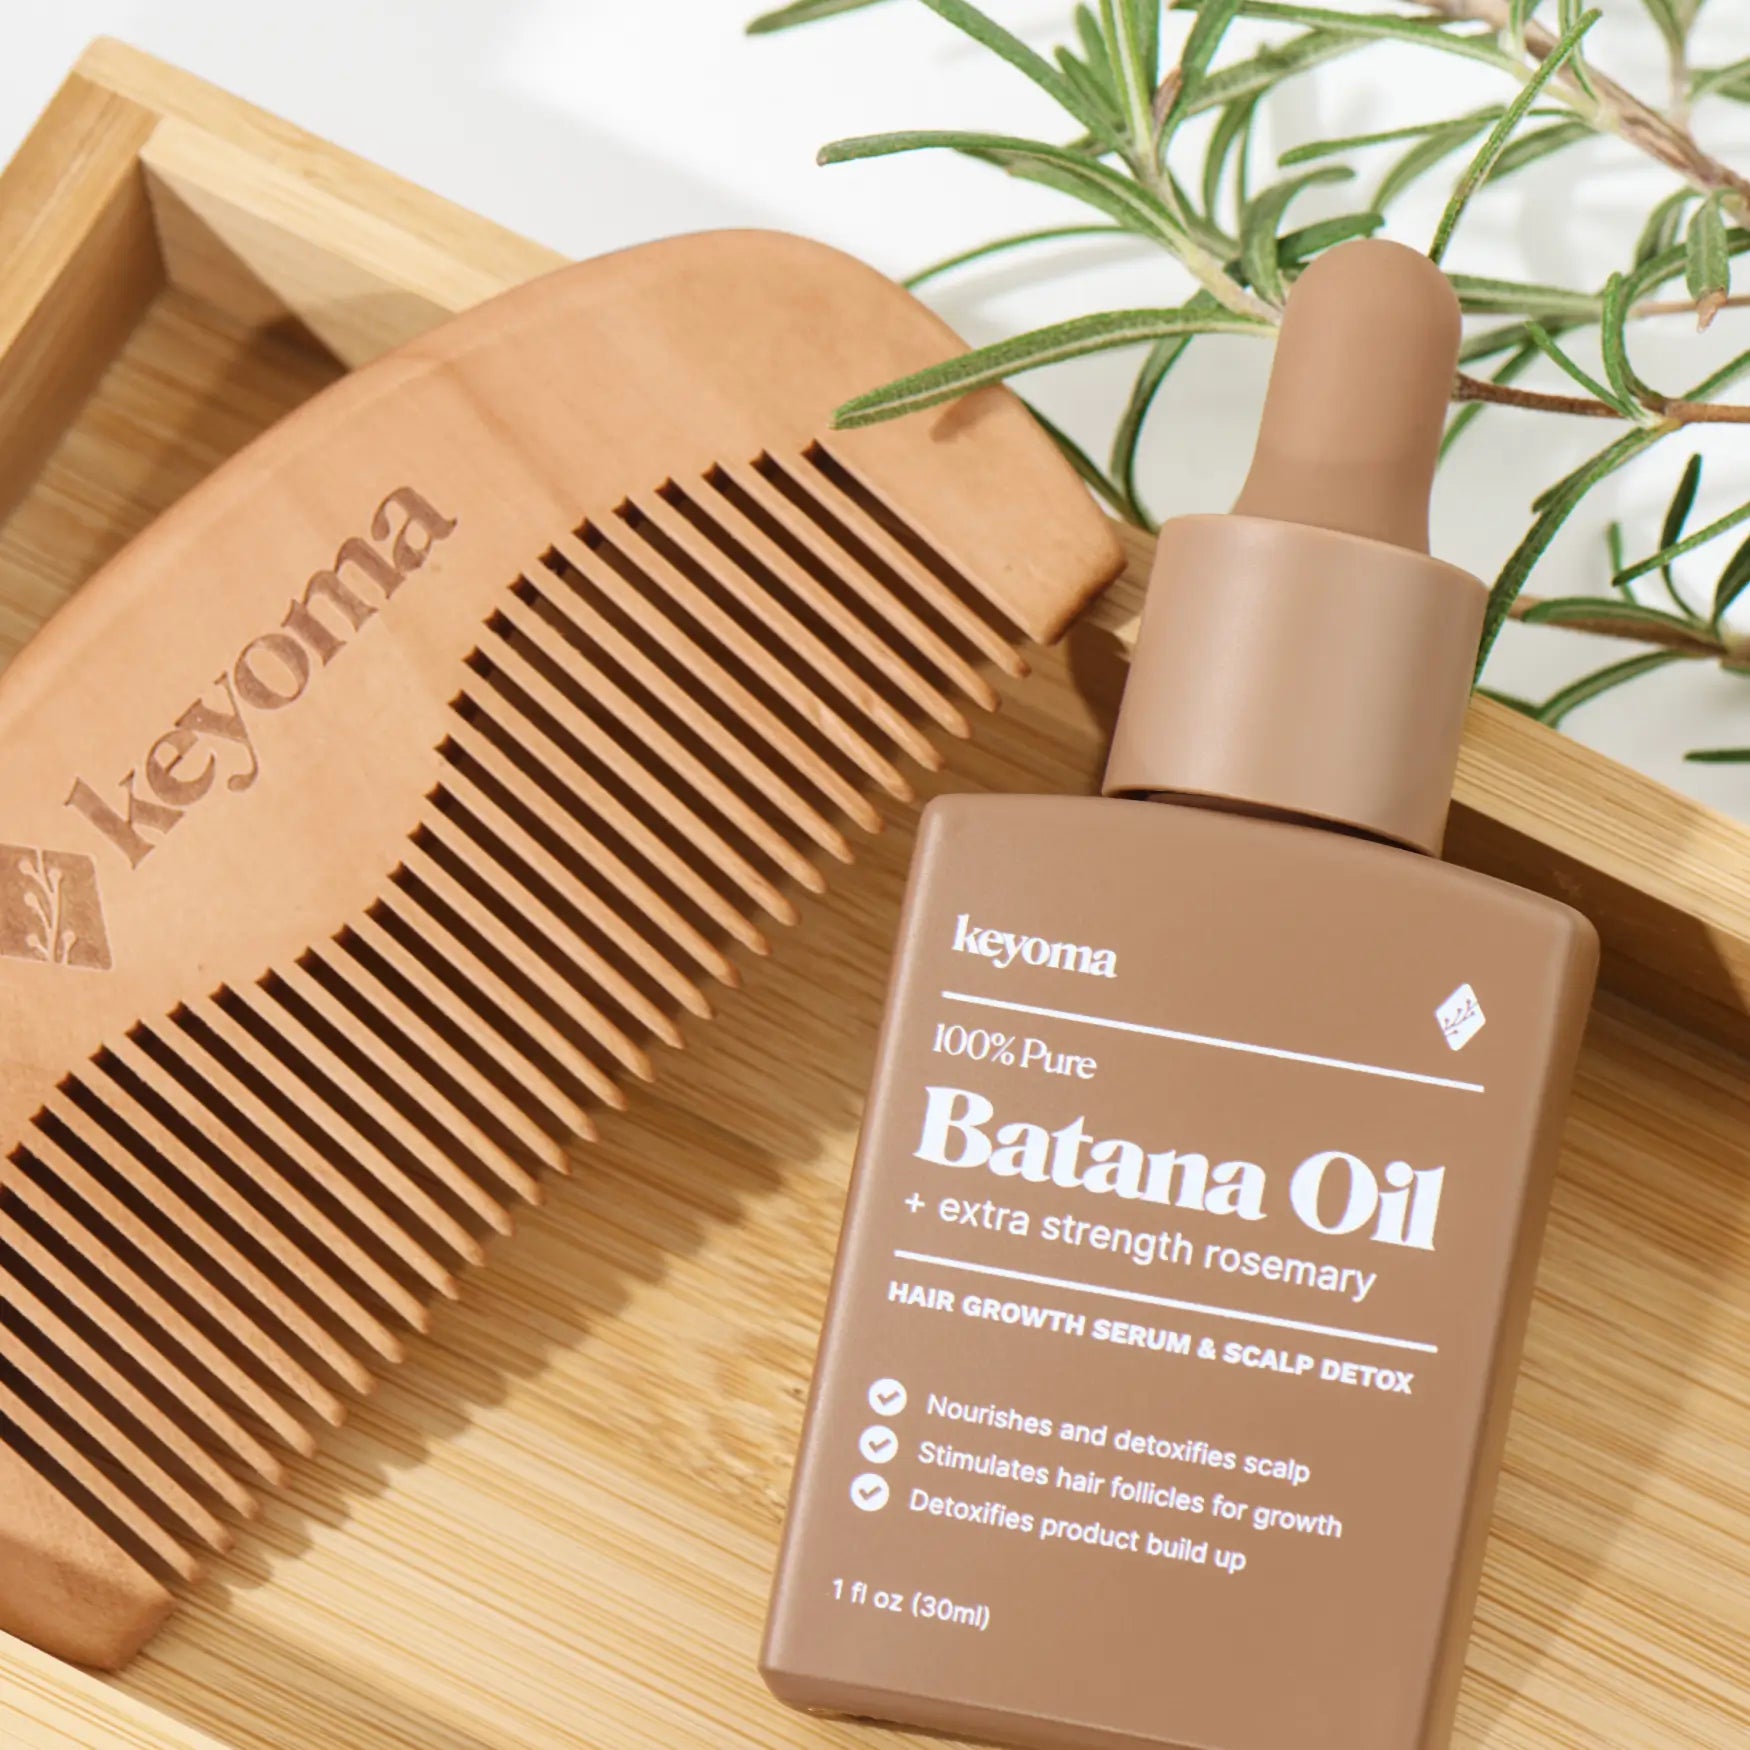
If your lengths need targeted softness, spread a very small amount of Keyoma Pure Batana Oil with Rosemary Oil across your palms before touching the driest ends. Keep the application selective, especially when you know your scalp will be warm or sweaty.
A hat or helmet does not require you to abandon hair oil. It requires you to use it with more control. Let your scalp, lengths, expected sweat level, and contact surfaces determine the dose instead of treating every covered-hair day the same way.
Frequently Asked Questions
Can I put hair oil on before wearing a helmet?
Yes, you can put hair oil on before wearing a helmet, but use a minimal amount mainly on the lengths and ends. For a long or sweaty ride, applying oil afterward or during a separate pre-wash routine may produce less transfer.
Does wearing a hat over oiled hair cause buildup?
Wearing a hat over oiled hair can collect and redistribute excess oil, sweat, and styling residue. Whether buildup develops depends on the dose, placement, wear time, existing product layers, and cleanliness of the hat.
Should I oil my scalp before wearing a helmet?
You do not need to oil your scalp before wearing a helmet when your goal is to soften dry lengths or reduce tangling. If your scalp becomes oily or sweaty easily, keep the roots product-free and treat the ends separately.
Should I wash my hair every time I sweat under a helmet?
You do not necessarily need to wash your hair after every minor sweat. Cleanse based on the amount of sweat, oil, odor, residue, and scalp discomfort rather than following one schedule for every wear.
Can hair oil stop helmet friction?
Hair oil may add slip to the strands, but it cannot correct a poorly fitting helmet, a pressure point, or a tight hairstyle. Always preserve the helmet’s approved fit and safety function.
Featured Product
30% Off + 3 FREE Gifts
100% Pure Batana Oil + Rosemary


