

In this article
A small amount of hair oil can make a roller-set takedown feel smoother, but placement matters. Coat your palms and fingertips lightly before removing the rollers, then keep the oil away from your roots while separating and arranging the curls.
The goal is not to saturate every section. It is to create a thin layer between your hands and the hair so your fingers move across the curls without unnecessary pulling.
This method works with traditional rollers, flexi rods, and perm rods. However, the set must be completely dry before you begin. Oil cannot correct curls that have not finished drying or setting.
Key Takeaways
-
Wait until every section feels fully dry before removing rollers or rods.
-
Coat your palms lightly instead of applying oil directly to individual curls.
-
Keep finishing oil below the roots to protect lift and visible volume.
-
Stop adding oil once your fingertips glide comfortably across each curl.
Check That Your Roller Set Is Ready to Come Down

Before reaching for hair oil, confirm that your entire set is dry. The surface may feel ready while the roots or thicker sections still hold moisture.
Removing rollers too early can disturb the curl pattern. Damp sections may shrink, lose their shape, or develop frizz as you handle them. A roller-set guide reviewed by a natural hair specialist also recommends waiting until the hair is completely dry before removing the rollers. Byrdie
Test More Than the Outside Layer
Do not judge the whole set by the rollers near your face. Those exposed sections often dry faster than the hair near the crown, nape, or center of the head.
Choose one less-visible roller and gently check the hair near the root. If it feels cool, damp, or softer than the surrounding dry sections, give the set more drying time.
Testing a hidden section also prevents you from disturbing a visible curl before you know the rest of the hair is ready.
Let Warm Hair Cool Before Takedown
If you used a hooded dryer, let your hair cool before removing the rollers. Warm hair can make it harder to identify remaining moisture, especially near the scalp.
Cooling also gives you a clearer view of the finished shape. Once the hair reaches room temperature, check the roots and ends again before starting the takedown.
Use the Hand-Coating Method Before Removing Rollers

Applying oil directly from the dropper to a finished roller set gives you limited control. One curl may receive too much while neighboring sections receive none.
The hand-coating method distributes a smaller amount across a wider surface. Your palms and fingertips carry the oil only where they touch the hair.
This is different from coating the hair before setting it. If you want guidance on that broader routine, read about using batana oil with heatless curls.
Start With Less Oil Than You Think
Begin with one small drop or a light fingertip amount. This is a starting point, not a fixed rule.
Hair length, density, strand thickness, dryness, and the richness of the oil all affect how much you need. Fine or low-density hair may lose volume after a small amount, while dense or coarse hair may need slightly more across the full takedown.
You can add another trace amount later. Removing excess oil from a finished set is much harder.
If your curls tend to become greasy, separated, or limp after finishing products, review the signs that hair oil is too heavy.
Spread the Oil Across Your Palms and Fingertips
Rub your hands together as if you were applying hand lotion. Move the oil across your palms, fingertips, and the spaces between your fingers.
Continue until you no longer see a concentrated wet patch. Your hands should feel lightly coated, not slippery or dripping.
Pay extra attention to your fingertips because they will do most of the separating. A thin, even coating gives you more control than a visible layer sitting in the center of your palm.
Keep the First Application Below the Roots
Avoid pressing freshly oiled palms over the crown or smoothing the roots downward. Both actions can reduce lift before you have arranged the style.
Use your coated fingertips on the curl lengths and ends instead. Your roots usually receive enough indirect contact while you remove and position each section.
Oil placement matters even when the formula itself feels light. Too much product near the scalp can still make the hair look flatter or cause several strands to group together.
Take Down the Rollers Without Pulling Apart the Curl

Takedown and separation are two different steps. First, remove every roller while preserving the curl shape. Separate the curls only after the full set is down.
Keeping these actions separate helps you see where the hairstyle needs fullness. It also prevents you from overworking the first few curls before you know how the complete set looks.
Follow the Direction of the Curl
Unwind each roller or rod in the direction the hair was wrapped. Do not pull the tool straight through the curl.
With a roller, release the clip and guide the roller outward while allowing the hair to unwind. With a flexi rod, straighten the bent ends before carefully unwrapping the section. With a perm rod, release the fastening before following the curl around the rod.
The tool should move with the curl rather than dragging across it.
Support the Curl as the Roller Comes Out
Use one hand to control the roller and the other to support the released curl. Let the curl fall into its formed shape instead of stretching it immediately.
If the ends catch on the roller, stop and free them with your fingertips. Pulling harder may disturb the curl or create frizz at the ends.
Set each released curl aside and move to the next roller. There is no need to arrange the final hairstyle yet.
Separate Removal From Fluffing
After all the rollers are out, pause and look at the complete set. Some areas may already have enough fullness, while others may need more separation.
Starting the fluffing stage too early often leads to uneven results. One side may become large and airy while the other remains tightly grouped.
Keeping every curl intact until the removal stage is complete gives you a clean starting point for shaping the finished style.
Separate Roller-Set Curls Without Coating the Roots

Curl separation creates fullness, but every split also introduces more handling. The aim is to divide only the sections that need it.
Before separating, check your hands. If your fingertips still glide easily and do not feel dry, do not add more oil.
Begin at the Ends
Choose one curl and examine where the ends naturally divide. Follow one of those divisions upward with your fingers.
Avoid tearing through the middle of the curl or forcing it into an exact number of pieces. One section may divide comfortably into two curls, while another may support three or four.
Natural division points require less pulling and help the separated pieces retain a similar shape.
Twirl Each Section in Its Original Direction
After separating a section, wrap it lightly around your finger in the direction of the original curl.
This small movement can help an opened section return to its formed shape. It is especially useful when the ends look loose after separation.
Do not twist tightly or stretch the hair from the roots. The movement should guide the curl rather than rebuild it.
Recoat Your Fingertips Only When Drag Returns
Use fingertip drag as your signal. If your fingers begin catching or feel dry against the hair, spread another trace amount of oil across them.
Do not reapply after every roller or curl. Automatic reapplication can leave the final sections noticeably heavier than the first ones.
Stop adding oil as soon as your hands move smoothly again. More shine is not a reliable sign that the hair needs more product.
Preserve Volume While Arranging the Roots

Once the curls are separated, remove any remaining oil from your palms with a clean towel. Your hands should be dry or nearly dry before you begin arranging the roots.
This creates a clear boundary between finishing the curl lengths and building volume near the scalp.
Lift the Roots With Nearly Dry Fingertips
Slide your fingertips underneath the curls and lift gently from below. Avoid placing your palm on top of the hairstyle and smoothing downward.
You can also use a hair pick at the roots. Insert it beneath the visible curl layer, lift slightly, and remove it without pulling through the ends.
Focus on flat areas rather than picking around the entire head. Targeted lifting creates shape without turning every curl into loose volume.
Separate More Where You Need Fullness
If one side looks flatter, separate one or two curls in that area rather than adding more oil.
You can also reposition a curl across a visible part or gently lift the hair beneath it. These small adjustments often create better balance than coating the roots.
For hair that loses volume easily, the same ends-first principle appears in Keyoma’s guide to oiling fine hair without greasy roots.
Leave Defined Areas Alone
More separation creates more fullness, but it also reduces the size and visibility of each curl group.
If an area already looks balanced, leave it alone. Repeated touching can turn intentional volume into scattered frizz.
Step back from the mirror between adjustments. The overall shape matters more than making every curl look identical.
Adjust the Method for Rollers, Flexi Rods, and Perm Rods
The hand-coating method works across several types of set styles, but the removal motion changes with the tool.
|
Set Type |
Takedown Focus |
|
Rollers |
Unwind smoothly without pressing the crown downward |
|
Flexi rods |
Straighten the rod before fully unwrapping the curl |
|
Perm rods |
Release the fastening before following the curl direction |
Traditional rollers often create larger curl groups that need less separation. Flexi rods may form spirals that require careful unwrapping along their full length. Perm rods tend to produce smaller curls, so separating every piece may create more volume than you intended.
Start by preserving the pattern produced by the tool. Make separation decisions only after you see the complete set.
Fix a Takedown That Feels Too Oily or Too Dry
The finished look gives you useful information for your next application.
|
Result |
Adjustment for Your Next Takedown |
|
Flat or separated roots |
Keep the first oil application below the root area |
|
Greasy curl groups |
Use less oil and spread it across more of your hands |
|
Fingers drag during separation |
Add a trace amount only to the fingertips |
|
Curls look stringy |
Stop recoating and reduce the number of separations |
|
Frizz appears immediately |
Check dryness and unwind each roller more slowly |
If you used too much oil, stop applying products. Do not try to balance the style by adding more oil to the untreated sections.
Instead, blot your palms, leave the roots alone, and arrange the curls with clean hands. Wash the hair during your next planned wash rather than layering dry shampoo or several finishing products over the set.
For recurring heaviness, compare your results with Keyoma’s guide to recognizing product buildup.
Finish Your Set With Less Friction and More Control
A good roller-set takedown depends on restraint. Confirm the hair is dry, spread a minimal amount of oil across your hands, follow the direction of each curl, and keep the roots free from concentrated product.
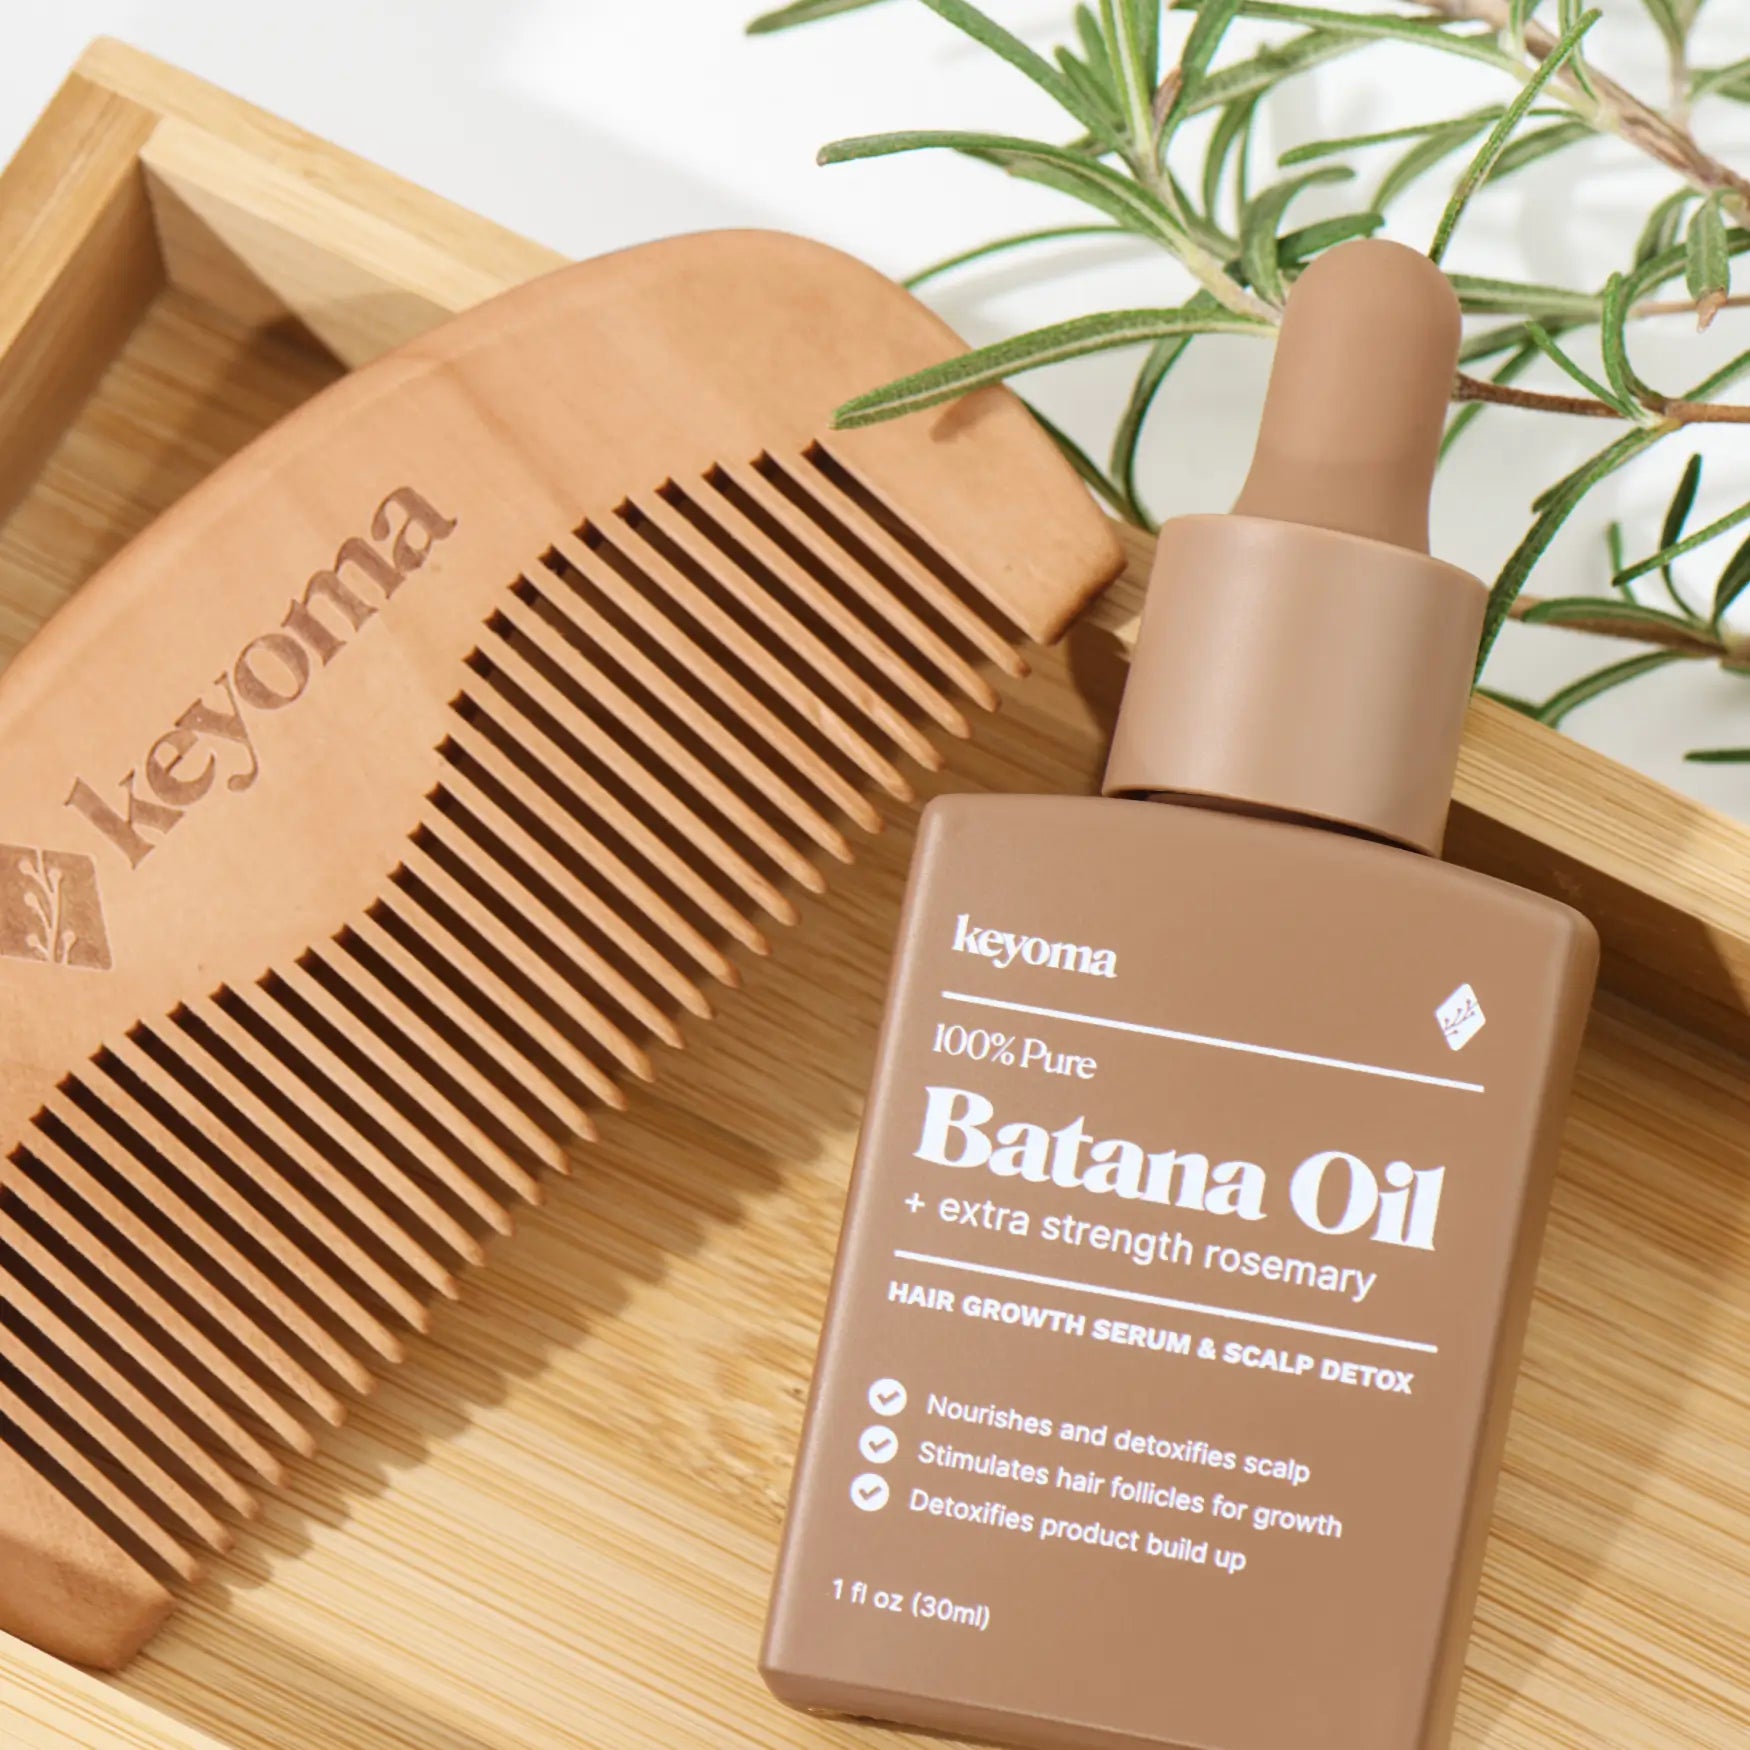
If you want a rich finishing option, Keyoma Batana Oil with Rosemary can fit this hand-coating method. Start with the smallest manageable amount and spread it completely across your palms and fingertips before touching the curl lengths.
Let the feel of your hands guide the next step. When your fingers already glide smoothly and the curls retain their shape, you have enough oil.
Featured Product
30% Off + 3 FREE Gifts
100% Pure Batana Oil + Rosemary


