

In this article
Short hair usually needs less oil than standard teaspoon-based instructions suggest. A large amount can reach the roots quickly, collect in one visible patch, or make the entire style look flat.
For a leave-in finish, begin with one drop or the smallest amount your dispenser releases. Spread it across your fingers and palms until your hands look lightly conditioned rather than wet. Touch only the dry ends, rough curls, or frizzy surface areas.
One drop is a starting test, not a universal dose. Dense, coarse, or highly textured short hair may need another small amount. A close crop, fine hair, or an oily scalp may need only the residue left on your fingertips.
Pre-wash oiling is different. You can use more because you will shampoo the oil out, but your hair still does not need to look or feel saturated.
Key Takeaways
-
Start with the smallest amount your dispenser releases, then assess the result.
-
Place finishing oil on dry sections instead of coating the entire head.
-
Short, dense curls may need more oil than fine or close-cropped hair.
-
Use more product only when pre-wash coverage requires it.
How Much Hair Oil Should You Use on Short Hair?
There is no reliable drop count for every short hairstyle. “Short hair” can describe anything from a close crop to a chin-length bob. Those styles do not have the same surface area or conditioning needs.
The dispenser also changes the amount. One drop from a narrow dropper may be much smaller than one pump from a serum bottle. A thick natural oil spreads differently from a lightweight finishing formula.
Your starting amount also depends on:
-
Hair density
-
Individual strand diameter
-
Straight, wavy, curly, or coily texture
-
Dryness and existing damage
-
Products already on the hair
-
Whether the oil is a leave-in finish or pre-wash treatment
Short hair is not automatically fine or low-density. A dense head of short coils may have more surface area to cover than straight hair that reaches the chin. In contrast, fine short hair can look oily after a small amount coats several strands and groups them together.
Cleveland Clinic recommends using a small amount of oil on dry hair and working it from the middle toward the ends. Its hair-oiling guidance also notes that results vary between people and hair types.
Instead of measuring oil by the teaspoon, follow an amount ladder:
-
Dispense one drop or the smallest amount you can control.
-
Rub it across both palms and fingers.
-
Touch one dry or rough area first.
-
Wait a minute and inspect the hair in natural light.
-
Add another trace only where dryness remains.
The American Academy of Dermatology gives similar advice for leave-in products. Use the smallest amount that does the job, place it only where the hair needs help, and remember that thick hair may need more than fine hair.
Where to Apply Oil Based on Your Goal

Short hair places the scalp, roots, and ends close together. Instead of sweeping oil over your entire head, decide what you want the oil to do and place it only in that zone.
Dry Ends or a Rough Perimeter
The oldest parts of short hair are still the ends, even when those ends sit close to the scalp. Start along the perimeter, longer top layers, or any section that feels rough when you run your fingers over it.
For a pixie cut, spread oil across your fingertips and lightly pinch the ends of the longer pieces. Avoid pressing your whole palm against the style because that transfers too much oil at once.
For ear-to-chin hair, begin at the tips. Move slightly upward only if the lower sections remain rough. Do not automatically apply from the roots down.
Frizz or Dullness on the Surface
Use only the residue left after treating the driest areas. Glide your palms lightly over the outer layer without pressing down on the roots.
Pay attention to face-framing pieces. They are easy to touch several times because you can see them in the mirror. Repeated contact can make them look darker or greasier than the back of the hair.
If frizz returns because the style has lost its shape or hold, more oil may not solve the problem. Oil can smooth the surface temporarily, but it does not replace water or styling support.
Short Curls or Coils That Need Softness
Short natural hair may need broader coverage than a straight pixie cut, especially when the hair is dense, coarse, or dry. That does not mean every curl needs a full coating.
Divide dense hair into a few loose sections if the outer layer blocks access to the curls underneath. Press a trace of oil onto selected dry areas. You can also smooth individual ends between your fingers.
Avoid raking oil through a finished curly style when you want to preserve curl grouping. Raking can pull clumps apart and create more visible frizz. If you are refreshing an existing style, use a more targeted wash-and-go oil technique that protects the curl pattern.
Scalp or Pre-Wash Treatment
Scalp oiling is a separate goal from adding shine to finished hair. Do not apply oil to the scalp simply because the hair is short and the skin is easy to reach.
If the product is designed for scalp use, follow its directions. Dense curls or coils may need small parts so you can place the oil without coating every strand above them.
For a pre-wash treatment, apply the oil before shampooing and leave it on for the directed time. You can use more than you would for a leave-in finish because shampoo will remove the remaining surface layer.
The goal is controlled coverage, not saturation. Adding more oil does not guarantee better conditioning or hair growth.
How to Apply Hair Oil to Short Hair Without Greasiness

A careful application matters more than hitting an exact drop count.
1. Choose the Purpose
Decide whether you want to soften dry ends, smooth surface frizz, add shine, or complete a pre-wash treatment. Trying to do all four at once often sends too much oil across the hair and scalp.
2. Start With Clean, Dry Hands
Hand cream, styling residue, and water can change how the oil spreads. Wash and dry your hands before measuring the product.
3. Dispense the Smallest Controllable Amount
Start with one drop. If your pump releases a large amount, place it in your palm and use only a small portion. Do not assume you need to use everything dispensed.
4. Spread the Oil Thoroughly
Rub your palms and fingers together until the oil becomes a thin, even film. No wet pool should remain in the center of your palm.
This step prevents the first section you touch from receiving most of the product.
5. Touch the Driest Area First
Apply the oil to the ends, rough curls, or dull pieces that prompted you to reach for it. Do not begin at the crown unless scalp application is your defined goal.
6. Use Hand Residue for Lighter Areas
Once the driest section feels smoother, use what remains on your hands for flyaways or the outer surface. Residue is often enough for a close crop or fine pixie cut.
7. Check Every Angle
Look at the front, sides, crown, and back. A second mirror or phone camera can help you spot a dark or separated patch behind the crown.
Move your head as you check. Properly dosed finishing oil should leave the strands flexible rather than fixed into glossy groups.
8. Stop Before the Hair Looks Coated
The goal is a small improvement in softness, slip, or shine. If every section looks uniformly glossy, you have likely applied more than the style needed.
Adjust the Amount Based on What Your Hair Does
Your result gives better guidance than a measurement copied from someone with different hair.
|
What You Notice |
Likely Cause |
Next Adjustment |
|
Flat or dark-looking roots |
Oil reached the scalp or root area |
Keep finishing oil on selected lengths or ends |
|
Separate, stringy pieces |
Too much oil reached too few strands |
Use less and spread it more thoroughly |
|
One visibly greasy patch |
The first contact received most of the oil |
Apply first to a lower or less visible dry section |
|
Rough hair that looks shiny |
The hair needs conditioning, not another oil layer |
Add a suitable water-based or rinse-out conditioner |
|
Dry curls remain after one drop |
Density or texture needs wider coverage |
Add another trace to selected curls |
|
Buildup appears before wash day |
Oil is applied too often or layered over residue |
Reduce the frequency and wash before reapplying |
If your hair feels increasingly coated, do not try to balance it with dry shampoo or more styling products. Review the signs of hair oil overuse, cleanse away the accumulated residue, and restart with a smaller amount.
Hair that remains stiff after oiling may need water and conditioning. The American Academy of Dermatology recommends using conditioner after shampooing because it coats the strands and improves manageability. Oil can add surface slip and shine, but it does not add water or permanently repair damaged ends.
Match the Routine to Your Short Hair
Length gives you a starting point. Texture, density, and strand diameter tell you how to adjust it.
Close Crop or Very Short Pixie
Warm the smallest trace across your fingertips. Touch only rough ends, dry edges, or selected longer pieces. If the fingertips still feel oily after application, do not add more.
Longer Pixie or Layered Short Cut
Begin with the perimeter and longer top layers. Use residue on the shorter sides and back only if they need it. Keep oil away from the roots when volume or separation defines the style.
Ear-to-Chin Straight or Wavy Hair
Apply oil to the tips first. If needed, use the remaining film on the lower lengths. Avoid pulling freshly dispensed oil from the scalp downward because the roots rarely need the same amount as the ends.
Short Dense Curls or Coils
Work in loose sections and press oil into selected dry curls. Add a second small amount only when the first does not reach enough of the hair. Density may increase the useful dose, but saturation is still unnecessary.
Fine or Coarse Short Hair
Fine strands tend to group together quickly when coated. Begin with one drop or less and protect the root area. For a complete fine-hair routine, see how to oil fine hair without losing volume.
Coarse strands may accept more product before looking heavy. Increase the amount gradually rather than starting with a teaspoon.
Use a Richer Oil as a Controlled Treatment
A richer natural oil requires more deliberate placement than a lightweight serum. Start with a tiny amount as a leave-in finish and apply it to selected dry areas rather than the entire head.
If a richer formula improves softness but leaves your short hair flat, move it to the pre-wash stage. This gives the hair time with the oil while allowing shampoo to remove the excess before styling.
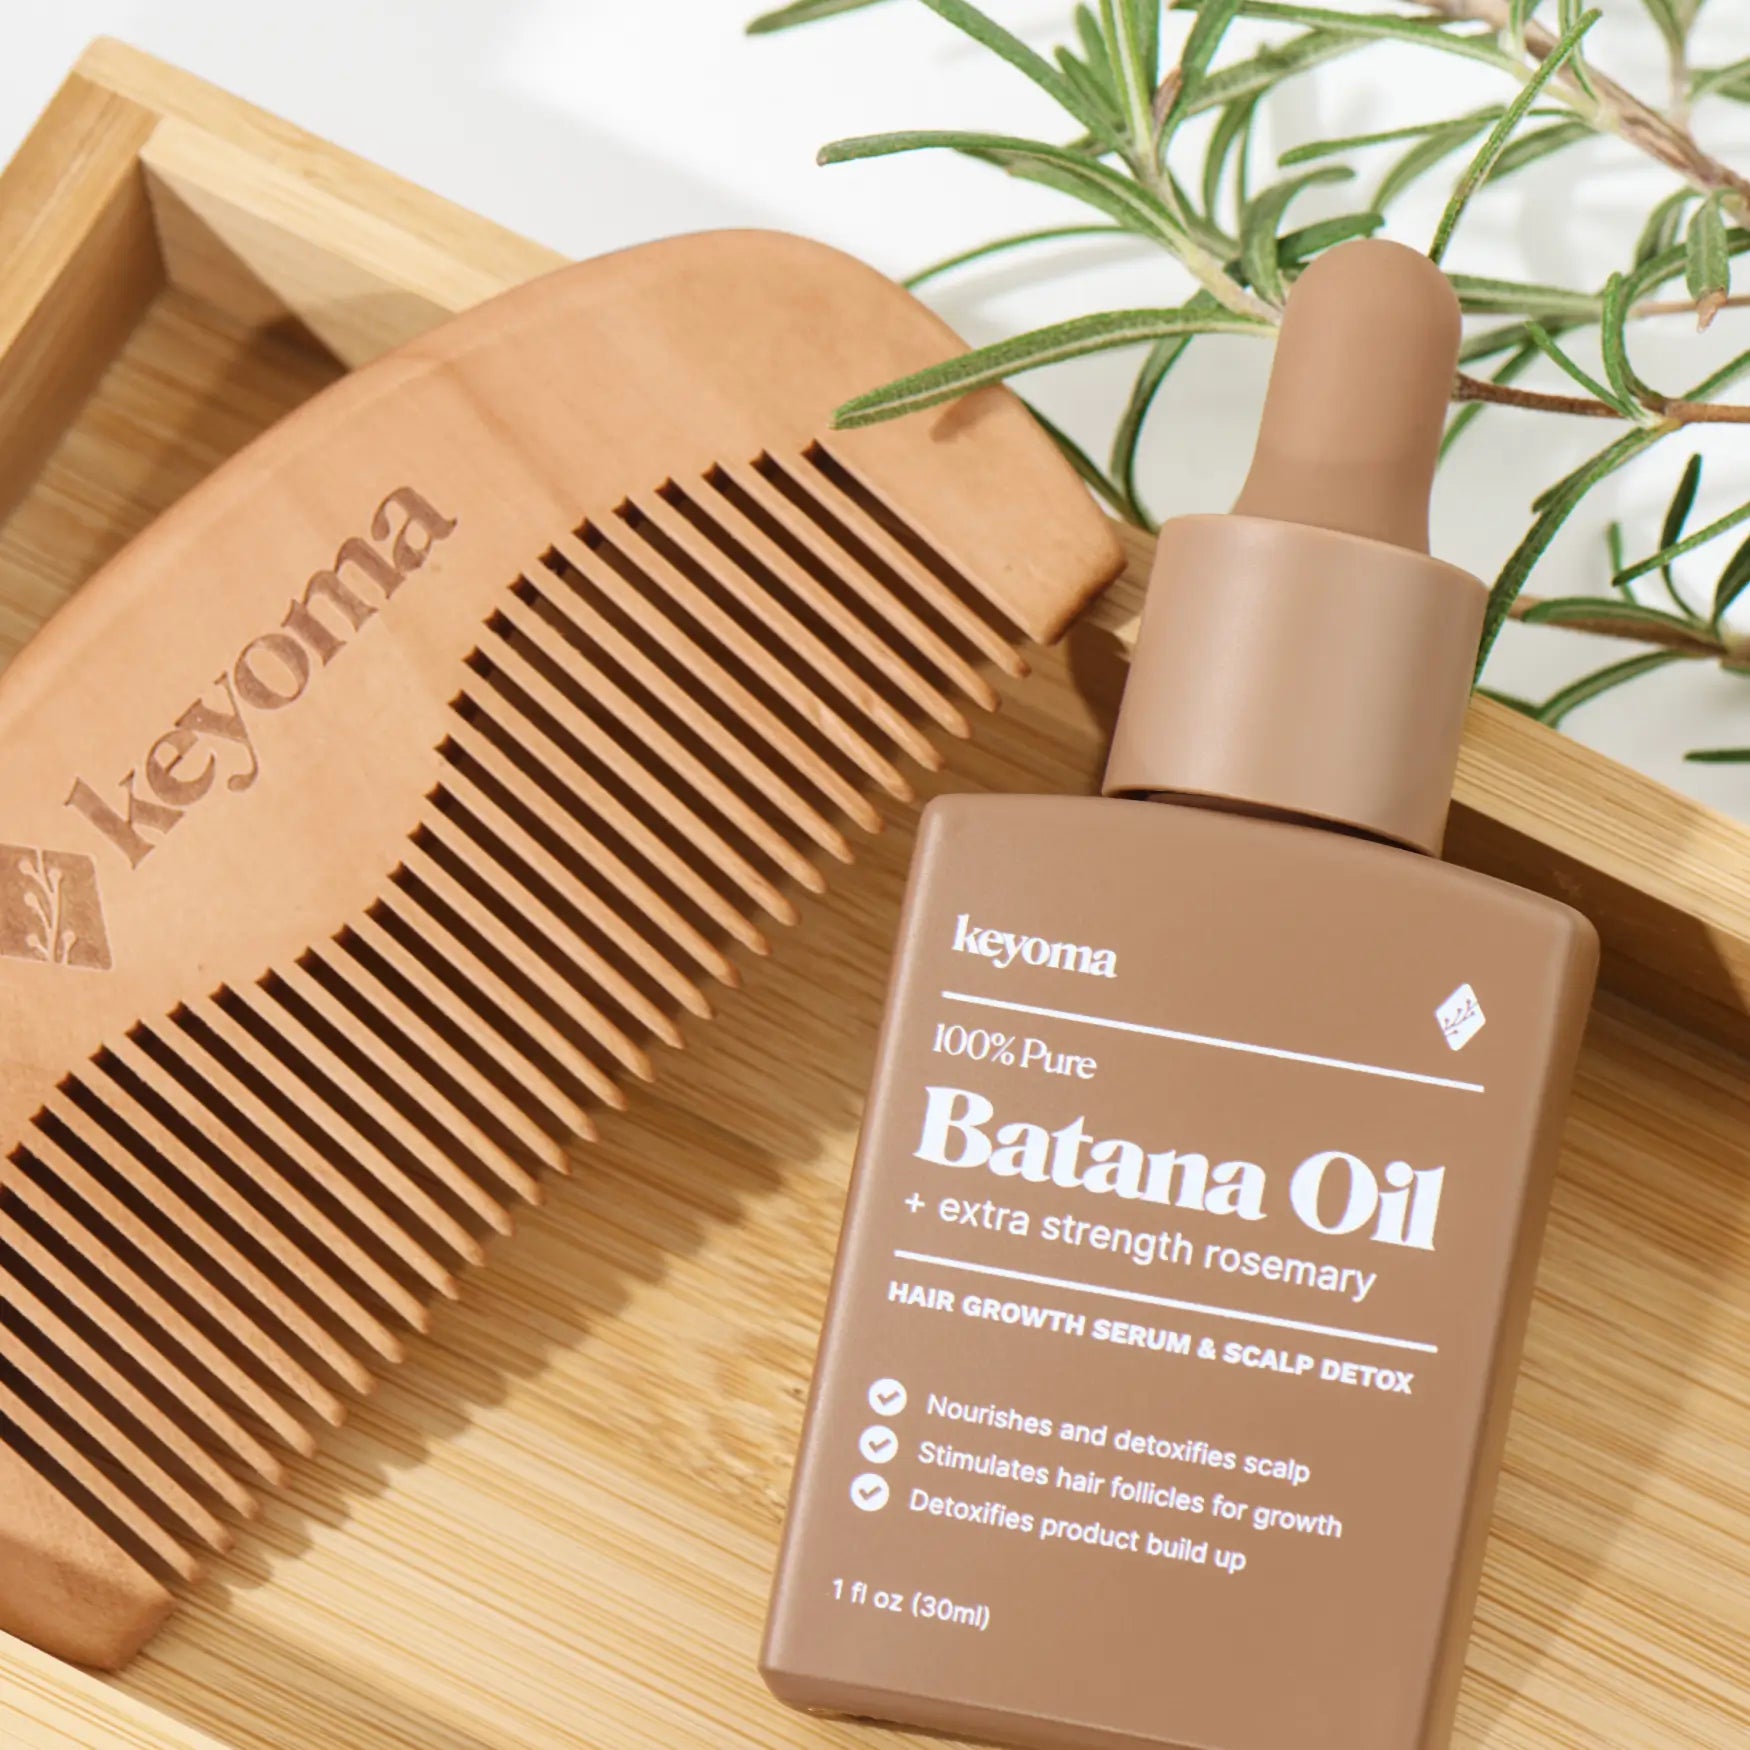
Keyoma Batana Oil with Rosemary can fit into either approach when used according to its directions. Warm a controlled amount between your hands, focus on the areas that need it, and avoid treating visible saturation as the goal.
Batana oil can support temporary softness, slip, shine, and surface smoothing. It does not replace a balanced conditioning routine or guarantee faster growth.
Start With Less and Let Your Hair Set the Dose
The right amount of hair oil for short hair is the smallest dose that improves the intended area without flattening the roots, separating the strands, or leaving visible residue.
Start with one drop or less for a leave-in finish. Spread it thoroughly, touch the driest area first, and inspect the result before adding more. If a rich oil feels too heavy after styling, use it as a controlled pre-wash treatment instead.
This approach gives your hair room to show what it needs without wasting product or sacrificing the shape of your short style.
Frequently Asked Questions
Is one drop of hair oil enough for short hair?
One drop is a useful starting test. A close crop or fine pixie cut may need less, while dense curls, coarse strands, or chin-length hair may need another small amount. The oil’s thickness and dispenser size also affect coverage.
Should I put hair oil on the scalp or the ends?
For finishing, prioritize dry strands and ends. Apply oil to the scalp only when you are following a product’s scalp-use directions or completing a defined pre-wash treatment. Routine scalp application can create buildup when your scalp does not need the extra oil.
Can you use hair oil on a pixie cut?
Yes. Spread a minimal amount across your fingertips and target the longer, rough, or frizzy pieces. Avoid sweeping freshly dispensed oil across the entire head.
How do I apply oil to short natural hair?
Work in small sections when density makes the inner curls difficult to reach. Press or smooth a trace of oil onto selected dry curls and ends. Add more only after checking whether the first amount provided enough coverage.
Why does oil make my short hair look greasy so quickly?
Short hair leaves little distance between the roots and ends. A small application mistake can coat a large share of the visible hair. Greasiness often comes from using too much, concentrating it in one area, or placing finishing oil too close to the scalp.
Featured Product
30% Off + 3 FREE Gifts
100% Pure Batana Oil + Rosemary


