

In this article
Hair knots at the roots often form when shed strands remain caught among growing hair near the scalp. As those loose strands move, they wrap around neighboring hairs and tighten through washing, sleeping, exercise, or styling.
The location makes these knots harder to handle than tangles at the ends. Pulling downward from the scalp can compress the knot and place more tension on the roots. The safer approach is to identify what you are dealing with, add the right amount of slip, and loosen the knot from its accessible edges.
A loose root knot can often be handled at home with patience. Dense matting, scalp pain, sores, or a sudden change in shedding calls for a different response.
Key Takeaways
-
Shed strands can collect near the scalp and wrap around growing hair.
-
Loosen the knot’s outer edges before working closer to the roots.
-
Hold hair above the knot to reduce pulling against the scalp.
-
Stop if you find pain, dense matting, sores, or unusual shedding.
Why Hair Knots Form Near the Scalp

A root knot is rarely caused by one strand tying itself into a perfect knot. More often, several hairs become caught together, then compact as the section moves. The texture of the strands, the number of shed hairs present, and the amount of friction determine how quickly that small tangle becomes harder to separate.
Shed Hair Gets Trapped Between Growing Strands
Hair naturally sheds as part of its growth cycle. A released strand does not always fall directly onto your shoulder, especially if the hair is curly, coily, thick, or styled for several days. It can remain suspended between growing strands until washing or detangling removes it.
The full-length strands that come free while you undo a knot may have been shed before the detangling session. Their presence alone does not prove that the knot caused hair loss. It helps to understand the visible differences between normal shedding and progressive hair loss before interpreting every released strand as a warning sign.
Dryness and Damage Increase Friction
Dry or weathered hair has a rougher surface than well-conditioned hair. Neighboring strands catch rather than glide past each other, making loose shed hairs easier to trap. Chemical processing, repeated heat, sun exposure, and rough brushing can increase this friction.
Dryness does not mean every knot needs more oil. First, check whether the strands feel rough while the scalp feels clean, or whether the entire area feels coated and sticky. The first pattern may benefit from conditioning. The second may point to residue that needs gentle cleansing.
If roughness appears throughout the lengths, addressing the broader causes of dry, friction-prone hair may help more than repeatedly treating individual knots.
Washing, Styling, and Product Buildup Compress Tangles
Circular scrubbing, piling long hair on top of the head, or rubbing it inside a towel can push already-loose strands together. Tight ponytails, high collars, scarves, and repeated head movement create similar friction, especially around the crown and nape.
Product buildup changes how a knot behaves. A dry tangle may feel light and fuzzy, while a residue-heavy knot can feel tacky or compressed. Applying more oil to a sticky knot may make the hairs harder to distinguish. The American Academy of Dermatology recommends applying shampoo mainly to the scalp to remove excess oil and built-up products while limiting unnecessary dryness along the lengths in its healthy hair care guidance.
Check the Knot Before You Start
Use good lighting and separate the surrounding hair without pulling. A loose root knot usually has visible edges, some movement, and individual strands you can identify. Dense matting feels more like a compact pad, with little space between hairs and no clear starting edge.
Also inspect the scalp beneath it. Stop home detangling if you find:
-
Significant pain when the section moves
-
Bleeding, sores, swelling, or persistent redness
-
A firm mat attached closely to the scalp
-
Many short broken pieces around the knot
-
A sudden or unexplained increase in shedding
Short pieces with blunt or uneven ends tend to suggest breakage, while full-length strands may be shed hairs. Comparing hair breakage with hair loss can help you describe the pattern accurately if you need professional advice.
How to Detangle Hair Knots at the Roots

Do not begin by dragging a comb from the scalp through the knot. That motion pulls surrounding hair into the tangle and transfers force directly to the roots. Work on the lower lengths and outer edges first.
Divide the Hair Into Manageable Sections
Clip unaffected hair away so it cannot join the knot. Make the working section small enough to control without forcing a tight part through tangled hair.
If the lower lengths are also tangled, loosen those first. This creates an open path for strands released from the root knot instead of letting them catch farther down.
Add Slip Without Saturating the Scalp
Choose moisture according to your hair type and the knot’s condition. Conditioner or leave-in conditioner usually gives damp hair enough glide. A light mist may be sufficient for fine hair, while curly or coily hair often responds better to thorough dampening and conditioner.
The American Academy of Dermatology’s advice for curly hair recommends working in sections and using fingers, a wide-tooth comb, or a tool designed for curly and coily hair.
For dry strands, a small amount of Keyoma Batana Oil can serve as a conditioning aid around the knot’s outer hairs. Warm it between your fingertips and apply it to the strands rather than pouring it across the scalp. More is not better. If the hair becomes coated or difficult to separate, you have lost the visual and tactile feedback needed for careful detangling. The same restraint that helps prevent hair oil overuse applies here.
Support the Hair Above the Knot
Hold the section between the knot and the scalp. Your fingers act as a buffer, absorbing some of the pulling force before it reaches the roots.
Keep the grip supportive rather than tight. If holding the section hurts or the knot sits flush against the scalp, stop instead of trying to create working space by force.
Loosen the Outside With Your Fingers
Feel for one or two hairs at the knot’s outer edge. Ease them sideways or downward in short movements. Avoid trying to split the center immediately, since the middle is usually the most compressed area.
As strands come free, move them into a separate clipped section. Add a little more conditioner or moisture only when the surface begins to drag. This slow outside-in process preserves more control than repeatedly picking at the same center point.
Work Upward With a Wide-Tooth Comb
Once your fingers have opened the outer portion, use a wide-tooth comb or flexible detangling tool on the free lower lengths. Begin below the remaining knot and move upward in small stages.
Hair does not have one universal wet-or-dry rule. The AAD advises combing thick or curly hair in the shower before rinsing out conditioner, while straight hair may be easier to comb after it has partially dried. The useful principle is to match moisture to your texture while avoiding force on hair that feels overly stretched or fragile.
Adjust the Method for Your Hair Type
Curly, coily, and thick hair can hold shed strands inside its pattern longer. Work in smaller sections, use enough water and conditioner to create glide, and preserve curl groups where possible. Dry brushing can expand the working area, increase friction, and turn one knot into several smaller tangles.
Fine or straight hair can knot through movement, static, and friction even when it is not especially dry. Use lighter products and less water so you can still see and feel individual strands. Concentrate conditioner around the knot and lengths rather than coating the roots.
Density matters alongside texture. Fine but dense hair may need more sections, while coarse but low-density hair may require less product than its strand thickness suggests. Let the knot’s movement and surface feel determine the next step rather than following a fixed quantity.
What to Do When a Root Knot Will Not Loosen
Stop if repeated attempts make the knot tighter, the scalp tender, or the strands stretchy and weak. Cover or loosely secure the section so it does not collect more hair, then ask an experienced stylist for help.
Do not cut blindly near the scalp. A compact knot can contain folded lengths from several areas, so its visible position may not show where each strand begins. Cutting through the center may remove more hair than expected.
If the area is broad, felted, or attached close to the scalp, follow guidance designed to safely detangle matted hair rather than extending a loose-knot method beyond its limits. Contact a healthcare professional if you have scalp sores, severe pain, signs of infection, unexplained breakage, or persistent heavy shedding. MedlinePlus also advises seeking medical guidance when dry hair does not improve with gentle care or appears alongside hair loss or breaking hairs in its dry hair overview.
How to Prevent Root Tangles From Returning
Prevention works best when it targets the location and timing of the knot. A knot that repeatedly forms at the nape suggests a different friction pattern from one that develops at the crown after wash day.
Reduce Friction During Washing and Drying
Massage shampoo over the scalp without piling the lengths on top of your head. Let the lather move downward as you rinse. Afterward, press out water with a soft towel or T-shirt instead of rubbing the hair back and forth.
Pay closer attention to repeated problem areas. Hair at the nape rubs against collars, bedding, and workout clothing, so strategies that prevent nape tangles and breakage can address the source rather than repeatedly undoing the result.
Remove Shed Hair Before It Collects
Detangle often enough that shed strands do not accumulate, but base the timing on your texture, styling habits, and wash schedule. Someone wearing a protective style needs a different approach from someone washing loose, fine hair frequently.
During detangling, collect released strands rather than letting them fall back into the section. This small step makes it easier to tell whether you are making progress and prevents loose hairs from wrapping around neighboring strands again.
Balance Conditioning With Scalp Cleansing
Condition the areas that feel rough, then cleanse often enough to keep residue from turning those strands tacky. If you use oil, apply only what the hair can absorb without losing movement.
Persistent roughness may call for a richer conditioner. Persistent coating may call for more effective cleansing or fewer layered products. Adding both oil and conditioner without checking the strand’s condition can hide the original problem rather than solve it.
Protect Hair During Sleep and Exercise
A loose braid, twists, or a high, loose pineapple can limit overnight movement if the style does not pull at the roots. A smooth bonnet or pillowcase may also reduce friction.
Before exercise, secure long hair in a low-tension style that prevents repeated rubbing at the nape. After heavy sweating, let the roots dry and gently separate compressed sections instead of leaving damp hair tightly bundled.
Loosen Hair Knots at Roots With Less Breakage
Treat a root knot as a small structure that must be opened, not something to pull through. Clear the lower lengths, add enough slip for your texture, support the section near the scalp, and release individual hairs from the outside inward.
If the knot remains dense, painful, or attached closely to irritated skin, preserving the hair means knowing when to stop. A stylist or healthcare professional can assess the area without turning a manageable knot into greater breakage or scalp injury.
Featured Product
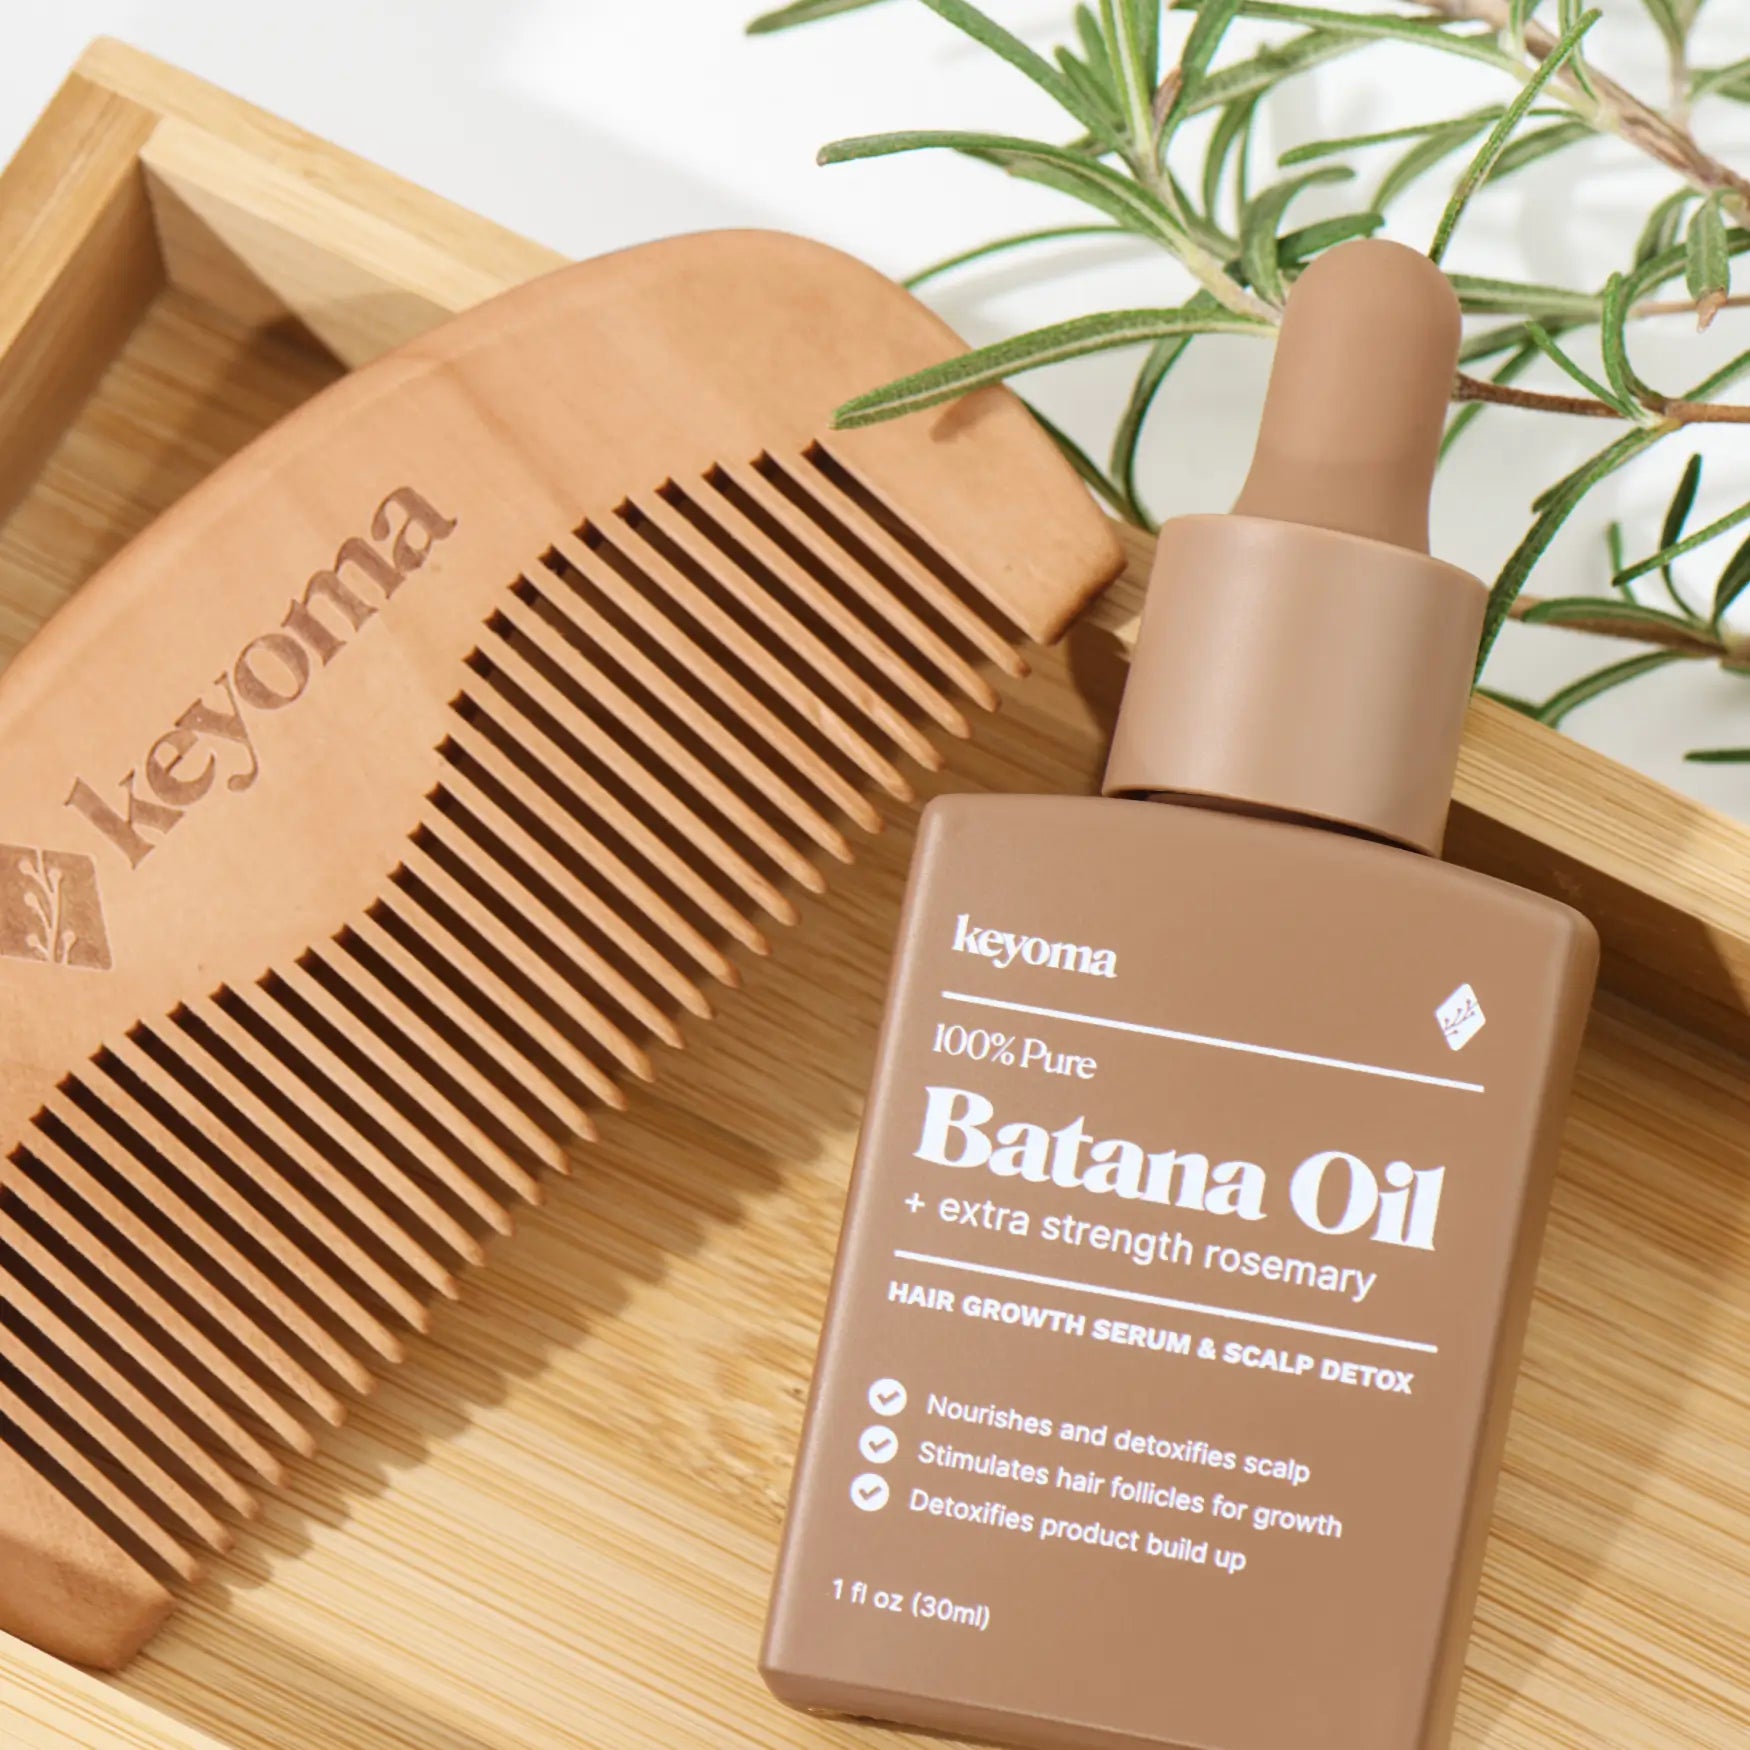
30% Off + 3 FREE Gifts
100% Pure Batana Oil + Rosemary


